Behind the scenes at Firespiral
Wrap Cloth Sewing Project: Wrap-around Skirt
I challenged myself to create a skirt with as little waste as I could, and reversible because choosing between the two faces of Firespiral fabric is hard! I also wanted it to have pockets and because I am using the 50% wool, I had to figure out ways to help reduce bulk at the seams. Jen and Tamsin sent me some Nightshade Stargaze Birch Trees wrap cloth to work with. I ended up using 1.5m of cloth in total for my wrap-around skirt project.
I came across this pattern in ‘Practical Dress Design’ by Mabel D. Edwin and thought it would be a good base for the skirt, just a few tweaks needed for reversibility and pockets. I will use pleats instead of darts, add pockets at the hipline and use bias binding and ribbon on some edges to help reduce bulk. I also did not need to adjust the waistline unlike the diagram shown.
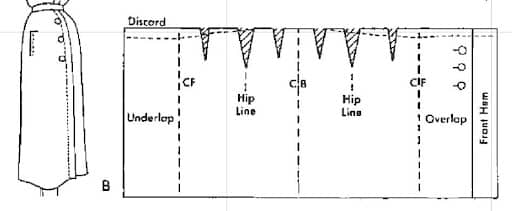
First, to calculate how much fabric is required.
Using a tape measure, at my hip line, I measured round and overlapped at front – for me, 25cm overlap looked about right, then added 2 inches for ease. It came to about 130cm. As Firespiral wrap cloth is available in 0.5m increments, I went for 1.5m.
I took three main measurements – hip, waist and length. I like to take waist and hip front and back to make some things easier later.
|
Waist 86.5cm |
Hip 105cm |
Length 50cm |
|
Waist front 43cm |
Hip front 49cm | |
|
Waist back 43.5cm |
Hip back 56cm |
To make the skirt I used:
1.5m of Firespiral wool wrap cloth (after washing and drying, this shrank to about 136cm at narrowest point)
- Approx 1.4m ribbon
- 1.2m bias binding
- 2x 19mm self-covering buttons
- 1 fat quarter of cotton
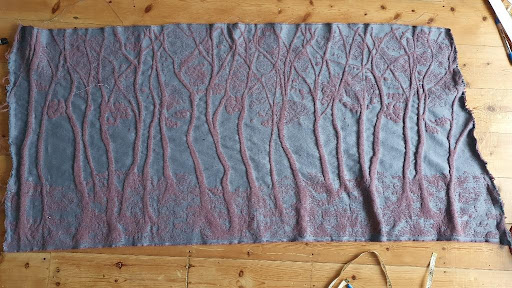
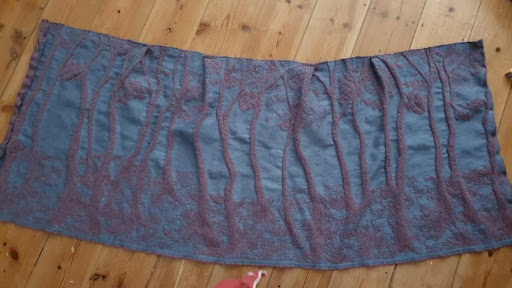
The fabric arrived and it is so pretty! I zigzag stitched the 3 non selvedge edges and following Jen’s advice in a recent video, it went in a normal 40 degree wash with all the clothed and normal detergent. It came out very fluffy and damp so I did a bit of reshaping and was distracted by my little one so tumble drying didn’t happen. Interestingly, the loose wool threads at the edge outside the zigzag stitching did felt but the wool in the weave didn’t – I can still see individual threads between the cotton weave, I think because of the cotton.
I then ironed the fabric several times on wool setting before starting on the patterning. The washing and ironing have caused it to be a very different cloth to how it arrived in loom state, and I think it would work beautifully for a tailored jacket too… perhaps another project for another time.
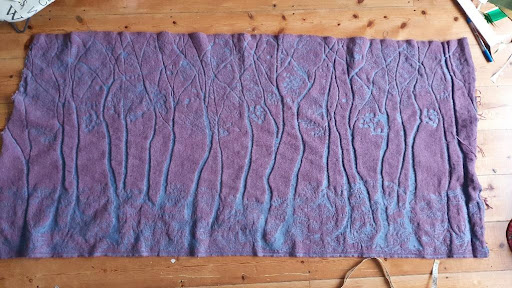
Happily, the selvedge is on the bottom of the design/where my bottom hem would be so I don’t have to hem the skirt!
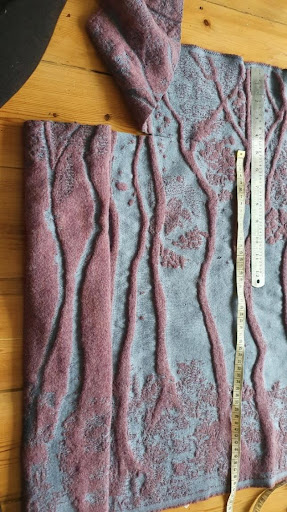
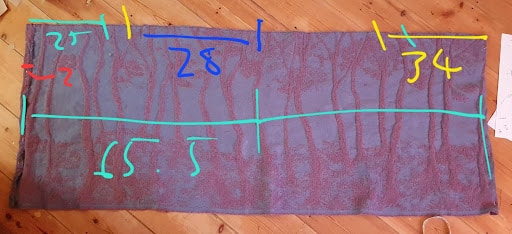
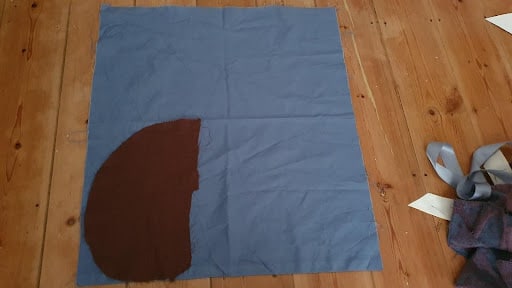
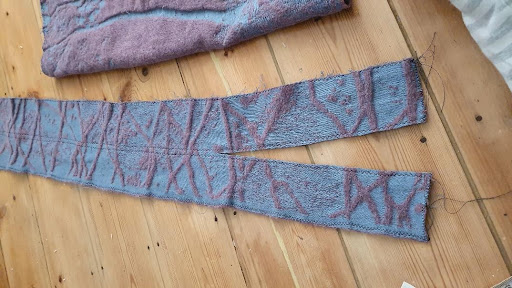
Next comes the most nerve-wracking part for me, the first cut. I cut the top of the fabric off, 50cm from the bottom – it is difficult to mark this fabric so I used a ruler and tape measure and cut across in stages. Before or after every cut, I zigzag stitched anything that would be a raw edge to reduce fraying. The narrower strip will be used for the waistband.
(Firespiral recommend that you can pull out a warp thread to create a thin line that you can follow to cut along for a guaranteed straight line!)
I found the midpoint of the long length and using pins marked out the hip lines, front waist, overlap start and end points. Then I folded over and straightened off the short edges of the skirt piece.
The darts ease is going to be pleats so a little maths is needed!
(Front Hip – front waist) ÷ 2 = 6cm for each side darts
(Back Hip- back waist) ÷ 2 = 6.25cm for each side darts.

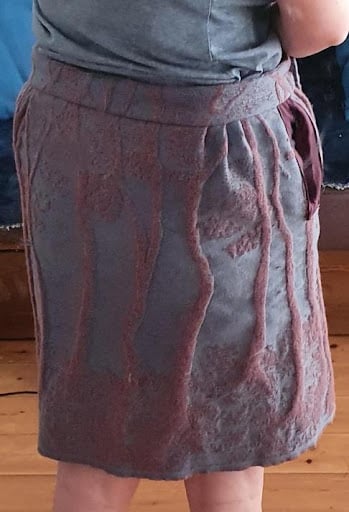
My back pleats got changed later on into 3 small pleats in place of the one bigger pleat when I moved the skirt waist from mid rise to high rise.
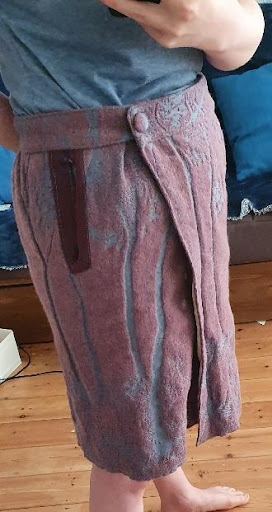
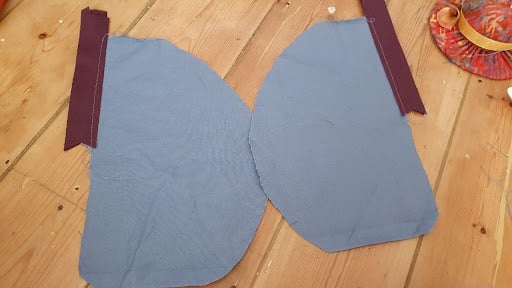
I tacked the darts in place, then tried it on to see the placement and overall look, attached ribbon to the folded edge on the ‘wrong side’ for each face outwards on each end before moving onto one of the most important aspects of this skirt – the pockets!
Every skirt or dress should have pockets in general. The challenging part was adding them to a no side seam reversible skirt that needed to be accessible when baby wearing. You could do patch pockets/patch pockets + welt pocket combo (there are some great tutorials for that online if you want to do that should you make your own version of this skirt) but I didn’t want to disrupt the pattern and would only have enough fabric remaining from the waist band for one patch pocket each side.
So I got creative. I decided to make a side seam style pocket in a slit cut at the hipline point on the waist. The pocket bag needed to be able to flip to either side so I had to be careful not to catch it in the waistband. I made a rough pattern using my palm width plus a bit for the opening and a fabric scrap. Using the depth as a guide, I marked the depth of the pocket with a pin for both of them then zigzagging the edges of the pocket to be before cutting the slit for the pocket.
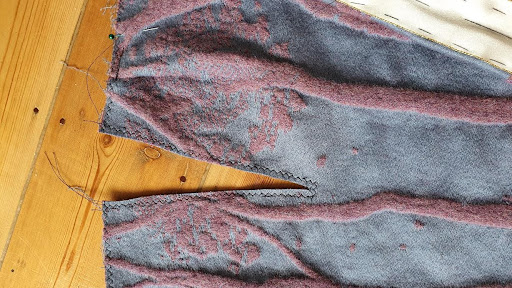
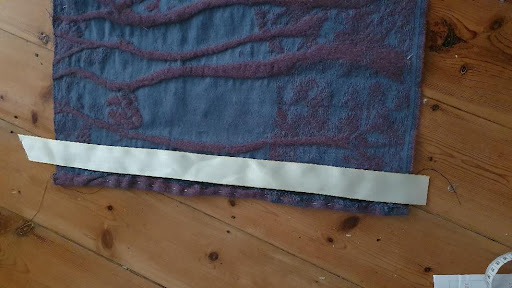
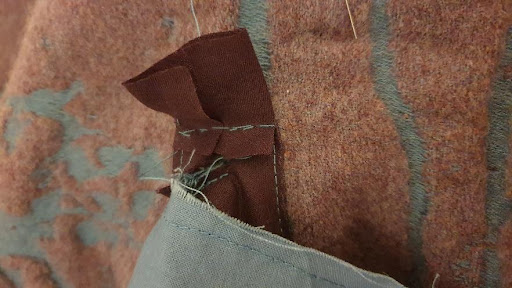
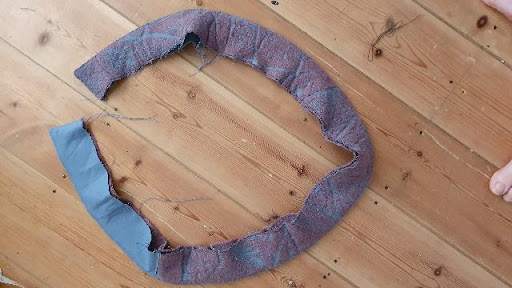
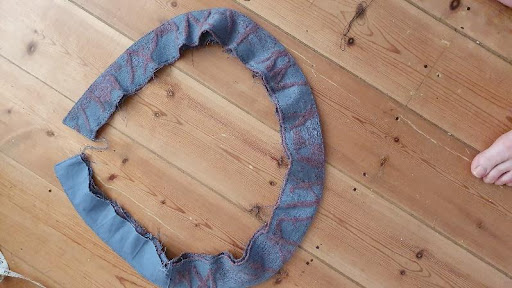
4 pocket pieces were cut from the fat quarter then I sandwiched the pocket opening between 2 pieces of bias tape cut at as an inverted “v” for the bottom end and taller than the pocket opening so it would anchor into the waistband. I then attached the pockets to the skirt by sandwiching the edges between the bias binding, pinning, then sewing in place – this was fiddly! I then sewed the pocket bags together.
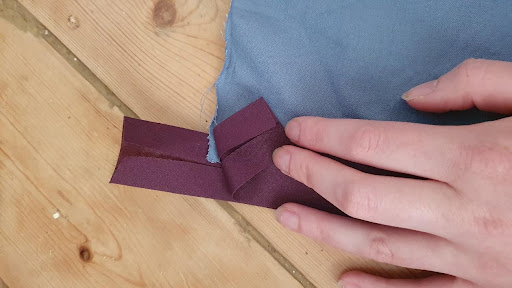
To finish the bottom raw edge of the pocket, I cut smaller pieces of bias binding, attached it to the skirt in line with the bias points the folded it up, rolled the edges into more triangular shapes but still covering the bias raw edges and whip stitched it in place by hand for both sides of the pockets. (It is hard to explain, hopefully the pictures help!)

Overall, this seems to have worked quite well, I may come back at a later date and decoratively reinforce stitch the bottom of the pockets, I haven’t decided yet.
Pockets complete, I moved onto the waistband.
First, I measured the waist length of the skirt, detracted my 25cm overlap. I cut the left over fabric from the beginning to this length then divided the 12cm height in two so I had two strips 6cm wide
From the remains of the fat quarter, I cut two strips 6cm by 27cm for the inside of the overlap, then attached them to the ends of the wrap cloth strips, making sure the fabric side face out and overlap would line up correctly.
Next, I sewed the upper edge and short edges together (the second time around – always double check when sewing, oops!) and then top stitched it.
I tacked the pocket openings shut and sewed one side of the waistband to skirt, then tacked the other side in place and tried it on to check.
At this point I decided I didn’t like the midwaist I had made so I changed it to a more natural waist height. This meant unstitching part of the waistband and adjusting the back darts – I felt 3 smaller darts each side was a more visually pleasing arrangement.
To reduce the waistband length, I opted to just chop a bit out of the middle and have a back seam in the waistband. On retrospect, I think it would have been better to unpick further and reduce at the overlap join but I did not like using the stitch ripper on colour matching thread with the apparent loose weave threads of the cotton next to it hard to distinguish and sewing in snatched time from not quite toddler isn’t always the best for thinking things through deeply. I still think it looks great though.
Having re-attached the waist band and re-tacked it, I then stitched in the ditch to secure the tacked side of the waistband in place.
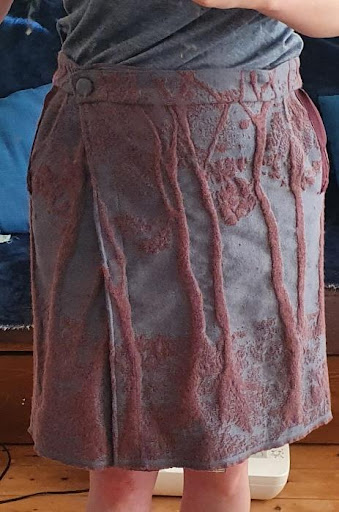
I used my machine buttonhole function to sew a buttonhole on each end of the waistband.
I was originally going to use some buttons from my stash I have collected/inherited but opted instead for self-covering buttons and I am so glad I did! It is so satisfying making them and the fabric just shines. I may find myself down a rabbit hole with that and end up with a collection of covered buttons that I’m sure I’ll come up with a use for…
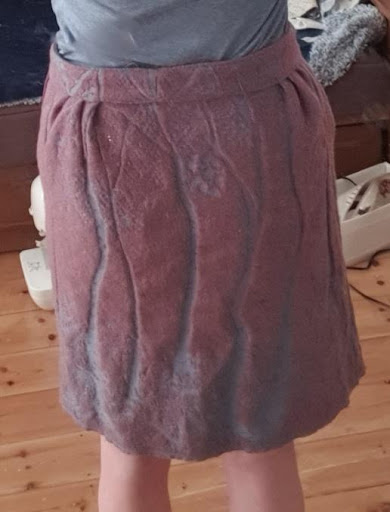
After sewing on the buttons, it’s done! It has been an experimental journey but I am very pleased with the results, really looking forward to wearing this regularly in the autumn/winter months!