Using Woven Wraps
Reinforced Kangaroo Carry: Wrapping Tutorial
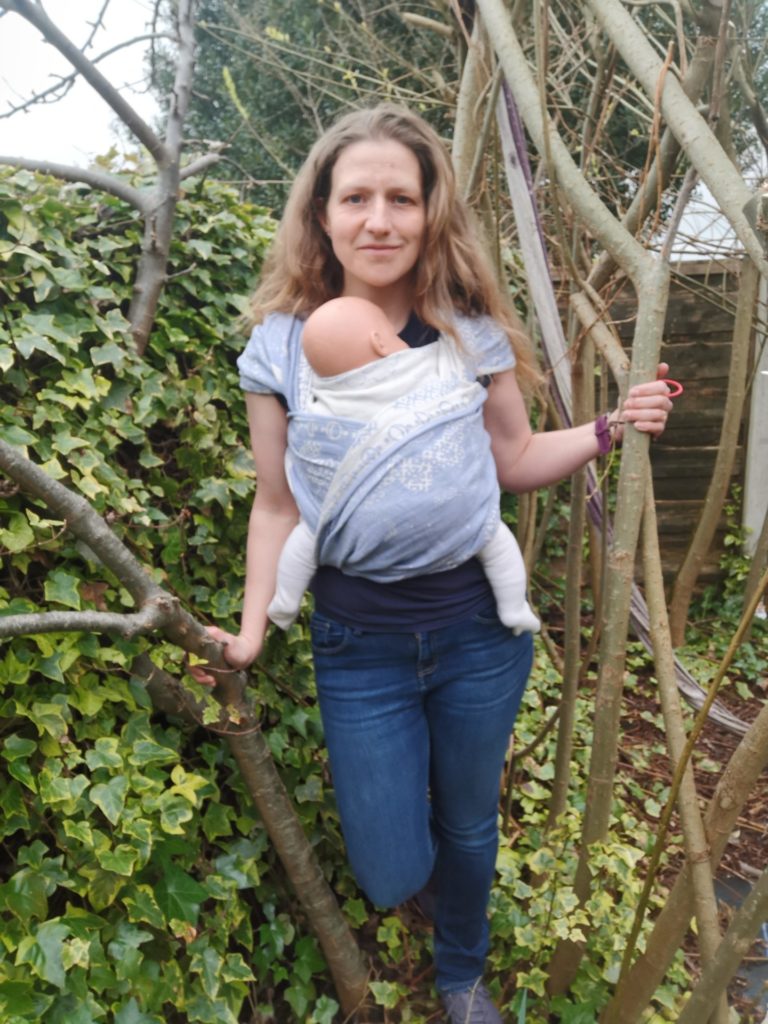
The Kangaroo carry is one that people either seem to love, or never quite get on with! It is worth giving it a go because it can be an incredibly comfortable and useful carry once you’ve cracked the technique. Jen demonstrates this carry using Sleepydust Cirrus Nocturne in a size 6.


- This front carry uses a base size wrap for the full reinforced version. You can use a shorter wrap if you want to tie the wrap off in front, under baby’s bum.
- This carry easily gets you child in an ergonomic and comfortable position. It is great for naps!
- The capped shoulders help to spread the passes wide across your back and distribute weight evenly.
- The reinforced version of the carry is very supportive.
- This carry is done with you child in arms from the start, there is no preparation of the wrap first, and you don’t need to put your baby down.
Video Demonstration
Step by step instructions
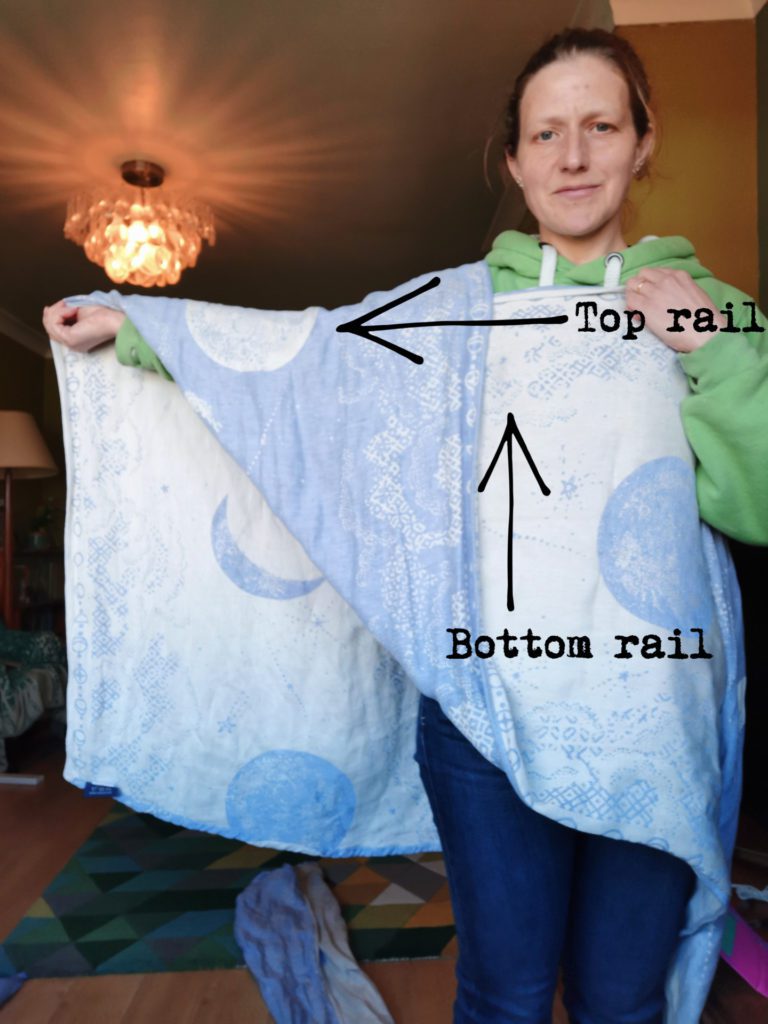
1 spread centre of cloth over baby 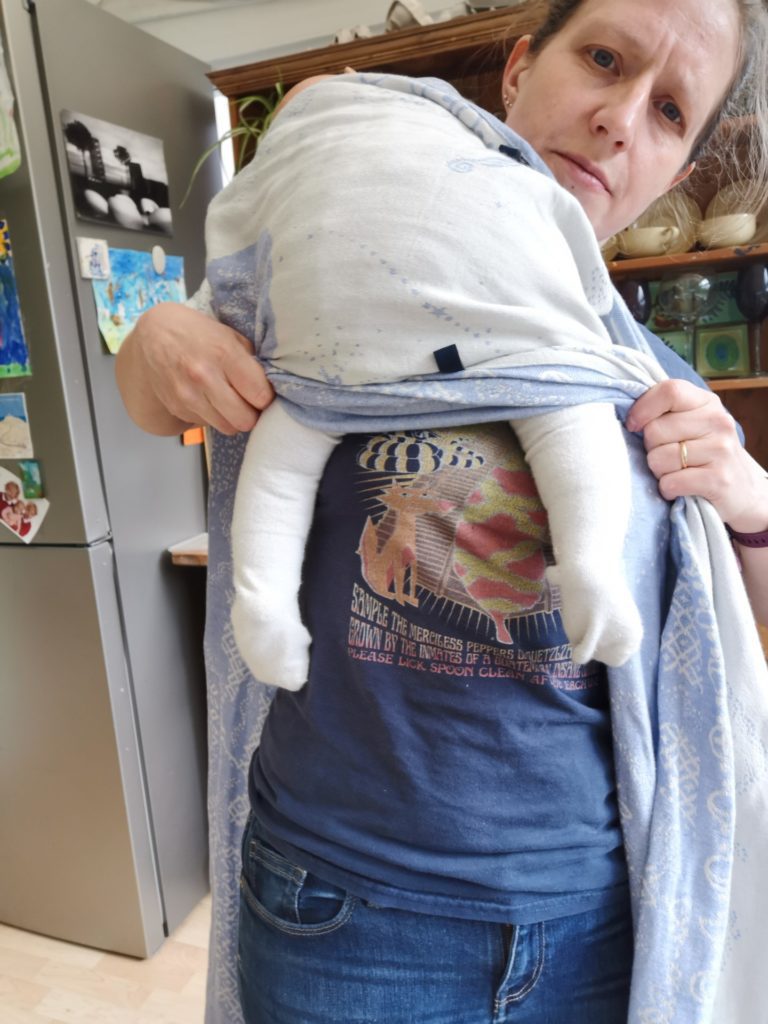
2. Gather the bottom rail and stretch in a horizontal line between knee-pits. Baby sits with this pinned between the two of you, but not pulled ‘upwards’ between you. 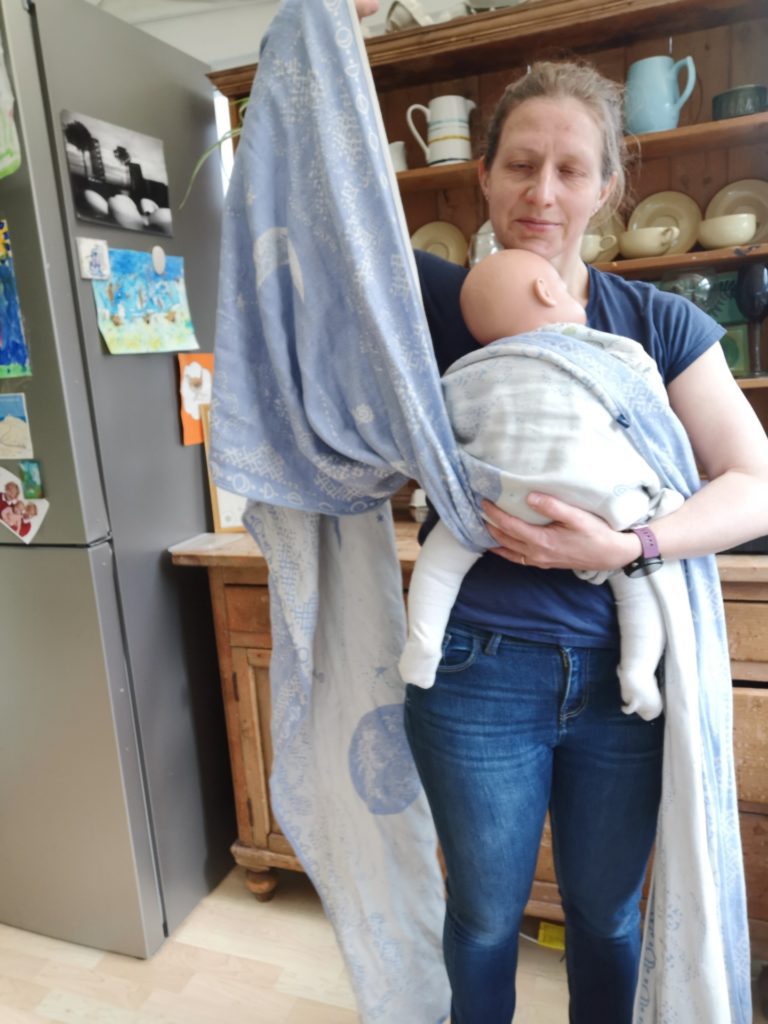
3 Take the bottom rail vertically up to create the shoulders 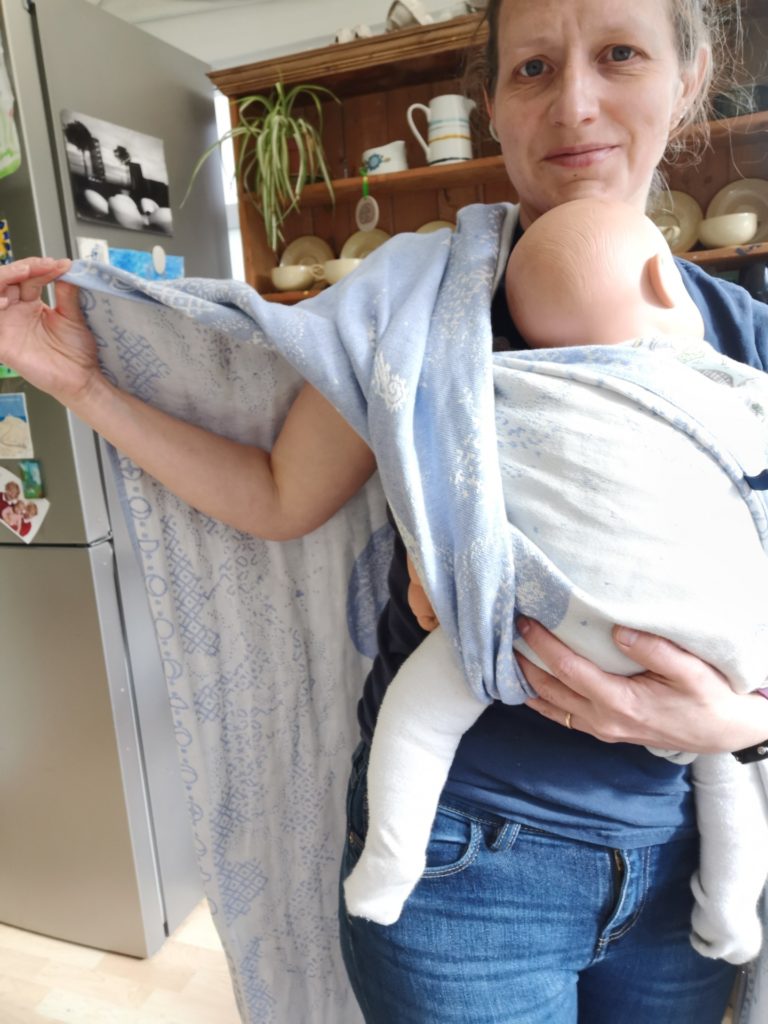
4. pull the top rail out horizontally to create the shoulders 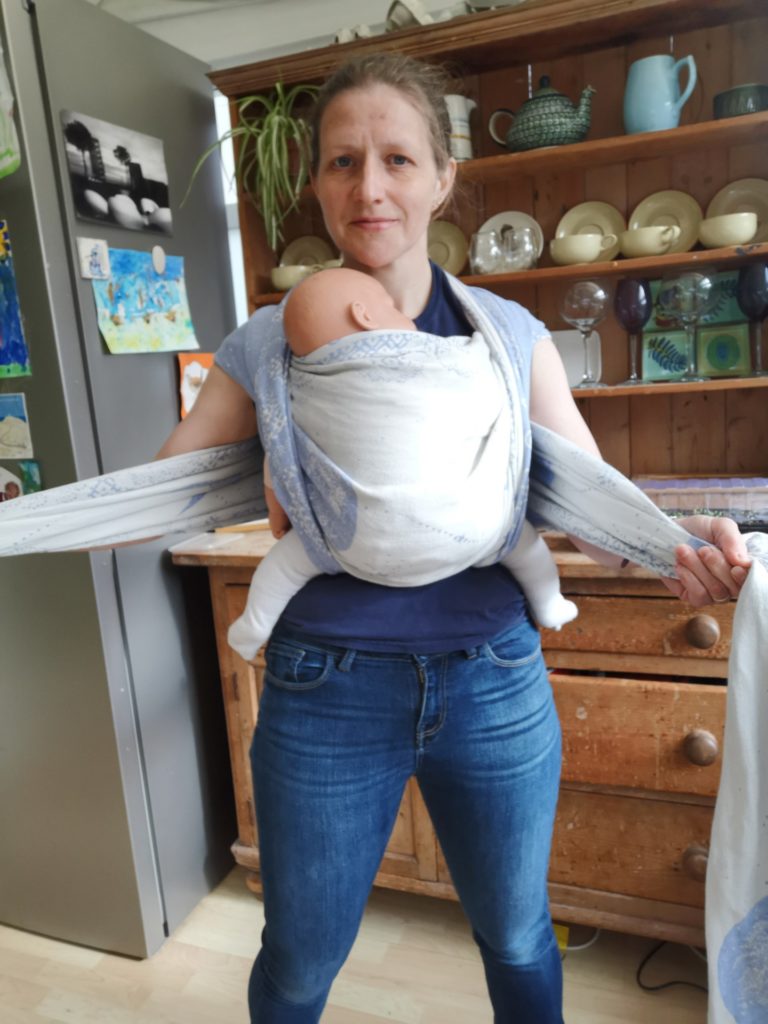
5. The passes cross behind your back and get pulled out sideways to gently tighten overall 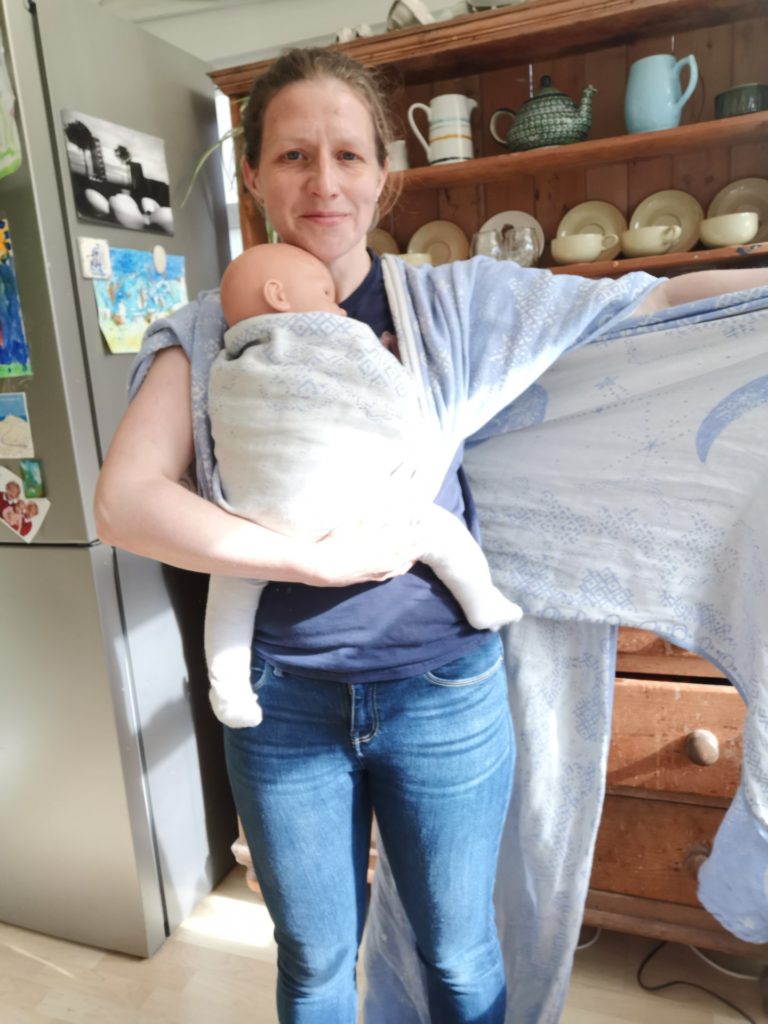
6. gather the cloth from the bottom and tighten strand by strand to work out any slack 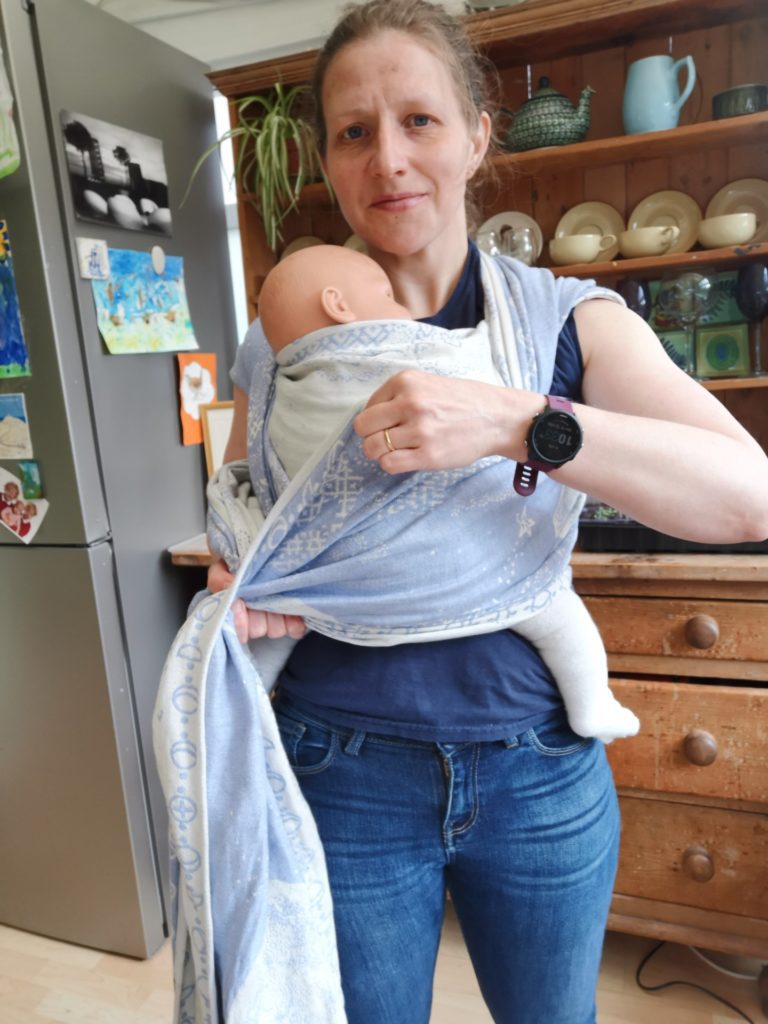
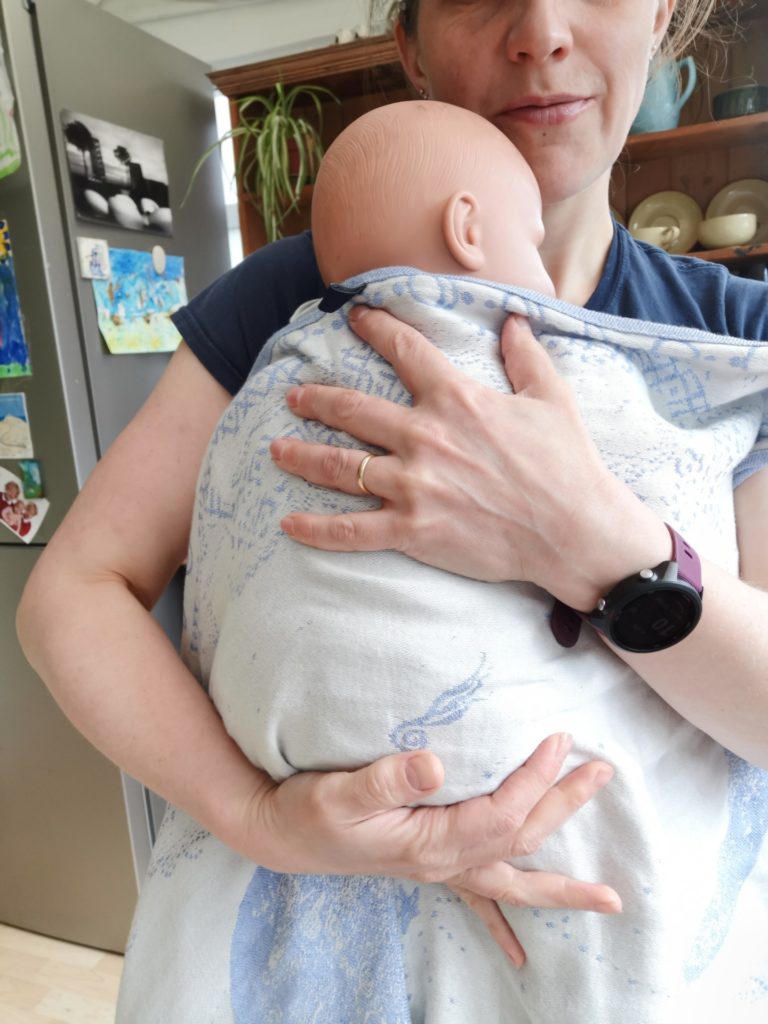
7. cross the passes in front and under baby’s legs round to the back 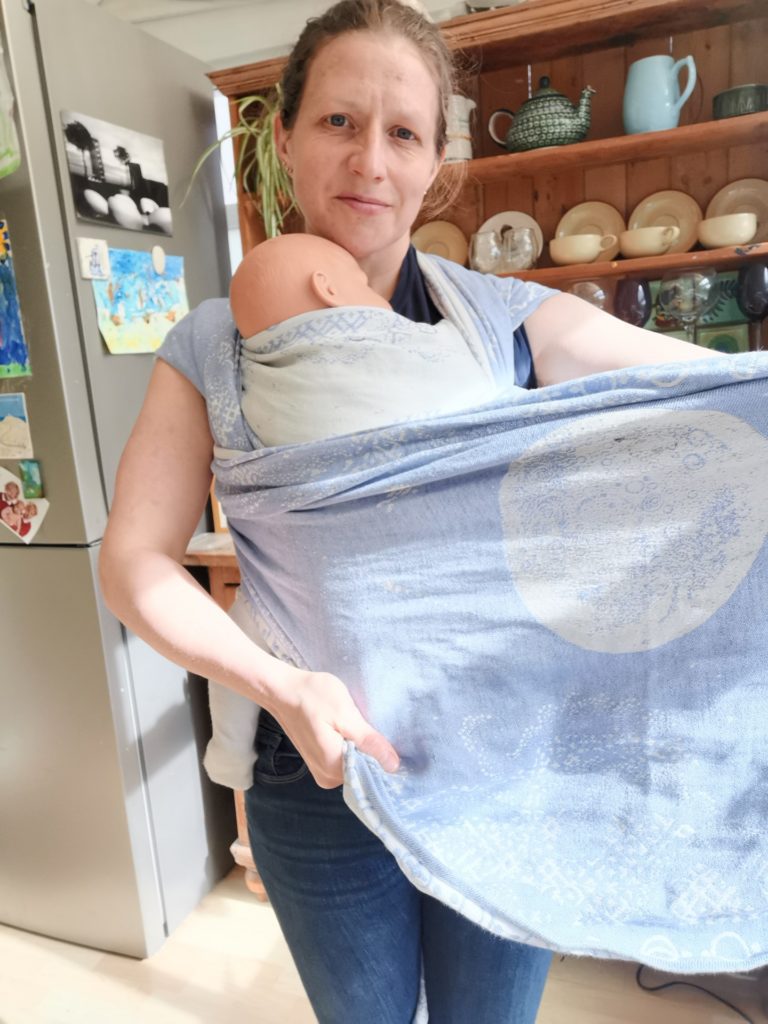
8. These passes can be bunched under baby’s bum or spread across their back (reinforced) 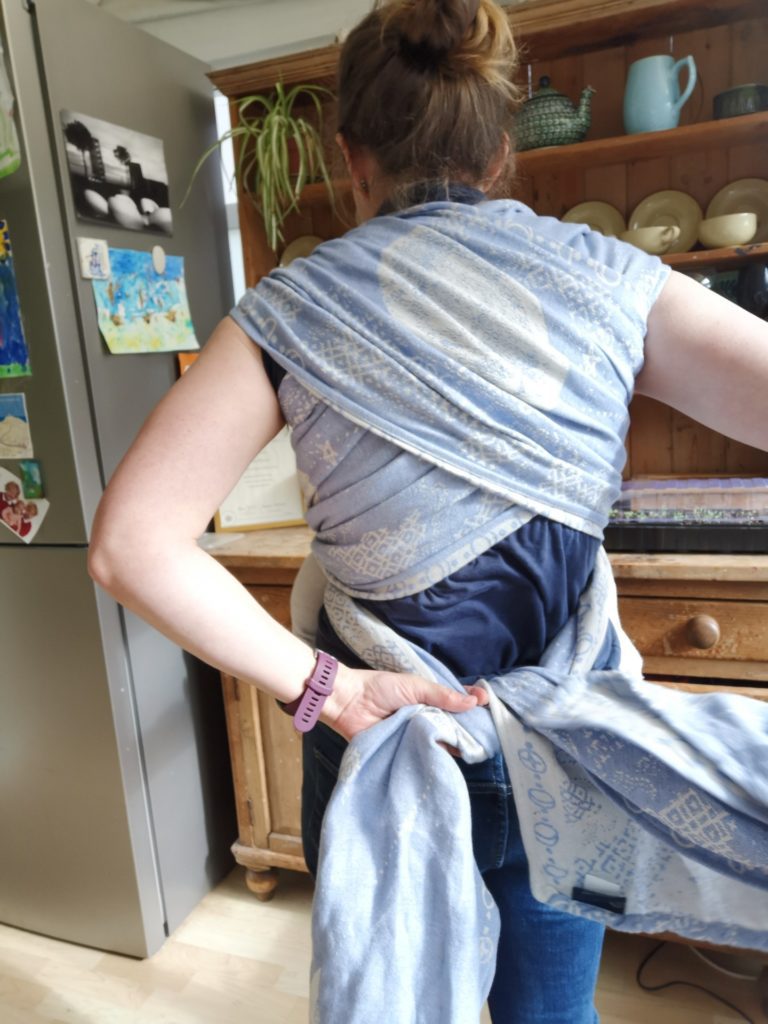
9. Fasten with a double knot at the back. It using a wrap less than your base size, you may b=need to tie at the front under bum. 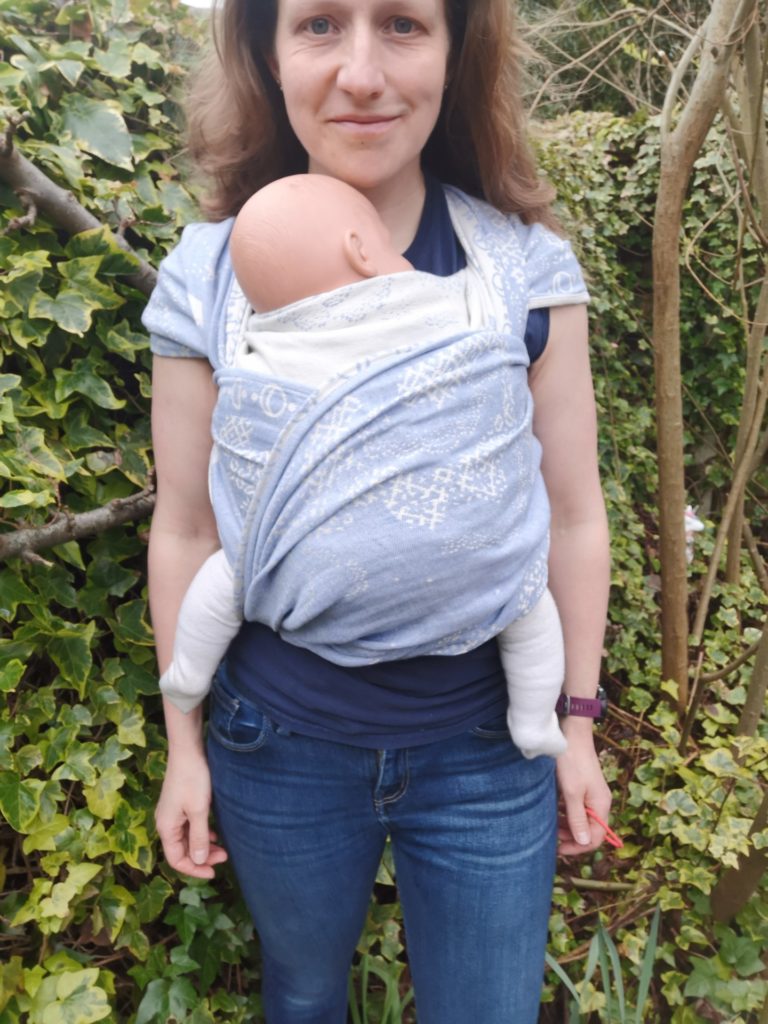
Done!
Some helpful tips for getting this carry right
- To make your seat, gather any excess cloth at the bottom of baby and pull it into a taut rope that stretches horizontally under baby past their kneepits. This fabric gets ‘nipped’ between you and baby, but not pulled upward in an exaggerated manner. It needs to still be in a straight line. If you get this nice and tight at the start then you don’t have to do any more work!
- Shoulder flips can be confusing. reach over the wrap with you arm on the outside of the cloth, grab hold of the bottom rail and lift directly up. The bottom rail will now be going in a straight line vertically, parallel to baby. The top rail of the cloth will run horizontally along your arm.
- Don’t overtighten the shoulder passes because you’ve already got the seat perfect in the step above, and overtightening will pop it out! To tighten each shoulder, take hold of all the cloth and pull it out to the side gently to tighten, then gather from the bottom and pull out any slack, moving up in sections. The top section of the cloth in your hand correspond to the seat that you’ve already made, so that needs almost no tightening.
- Circling your shoulders as you tighten will help the cloth settle into place nicely