Behind the scenes at Firespiral
Tutorial: How to make simple quilted fabric coasters using wrap fabric.
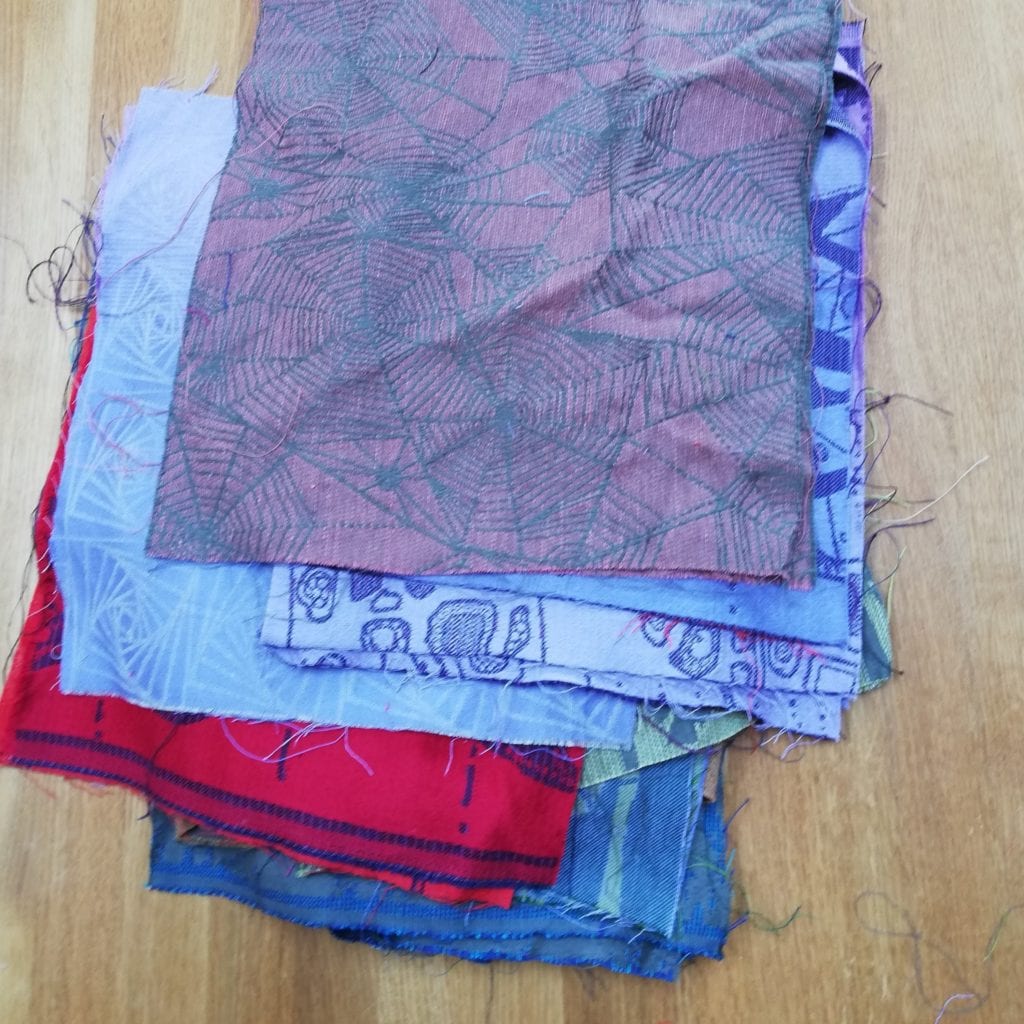
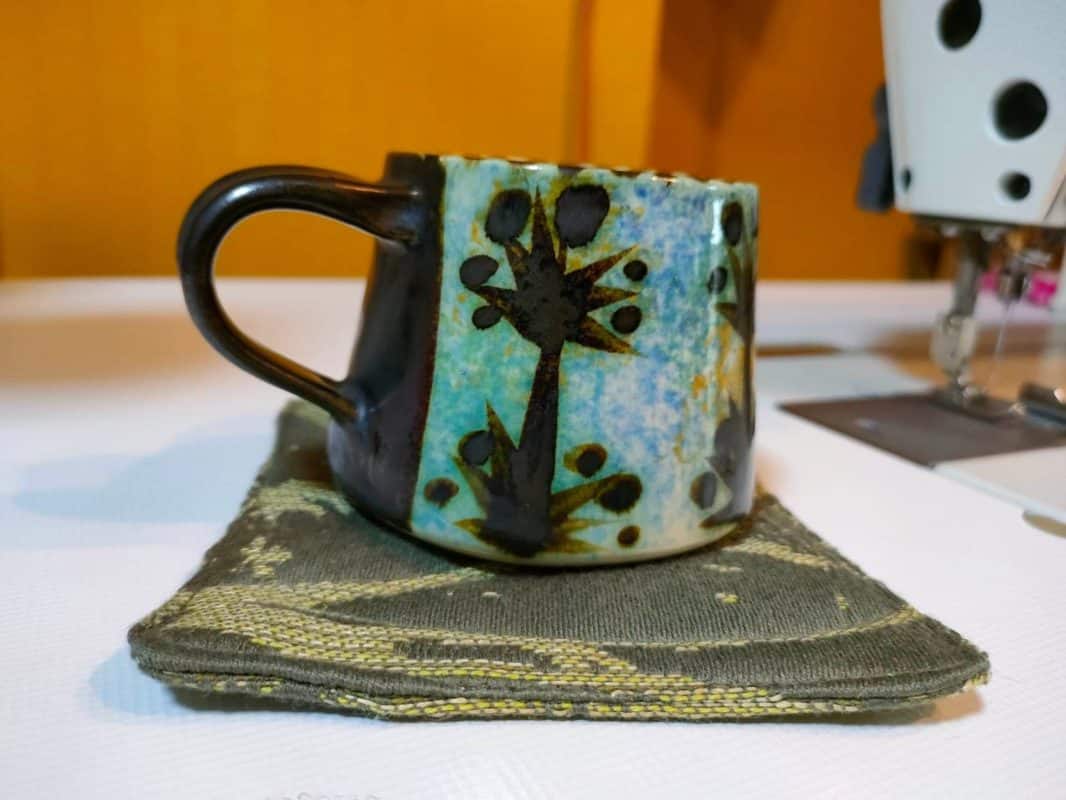
Do you have a collection of wrap scraps and are looking for some inspiration on how to use them? In this tutorial, Tamsin from Firespiral will show you how to make simple quilted coasters using wrap fabric scraps. The coasters are a perfect size for a drink or a mug and are a great way to use up small pieces of fabric. We also sell 30cm sample squares which are perfect for a project like this.
Total Time: 1 hour
Step 1: Cut Fabric Squares
Cut out 8 squares of fabric that measure 13 cm x 13 cm. You can use a ruler and rotary cutter to get precise cuts.
Step 2: Cut Wadding/ Batting
Cut out 4 squares of thin quilting wadding that measure 12 cm x 12 cm. Cut the wadding slightly smaller than the fabric squares to make it easier to turn the coaster right side out.
Step 3: Assemble Fabric Pieces
Pair each fabric square with another fabric square (one will be the top of your coaster and the other the bottom). Place a piece of wadding on the wrong side of each bottom piece. You can use quilting tape to help hold the wadding pieces in place against the bottom pieces. Place the top piece on top.
Step 4: Overlock / finish the edges (optional)
Using an overlocker, or a zig-zag stitch on a standard machine, finish the corresponding edges of both a top and bottom piece. This will be the edge that you leave open for turning. Finishing this edge will make it easier to have a good finish once you have turned it to the inside.
Step 4: Sew Pieces Together
Assemble the coasters, with the right side of the top against the right side of the bottom (your wadding will be showing), matching finished edges. Using a sewing machine, overlocker, or needle and thread, sew around the edge of the squares with a 1 cm seam allowance. Leave a 5 cm gap open on one side to turn the coaster right side out.
Step 5: Turn Coasters Right Side Out and Press
Trim the corners and turn the coaster right side out through the gap. Use a chopstick or pencil to push out the corners. Press with an iron, tucking in the area around the gap.
Step 6: Topstitch around the edges of the coaster
Using a sewing machine or needle and thread, stitch around the coaster, close to the edge. Make sure that you catch the gap and sew it closed.
Step 8: Quilt Coasters
To give the coasters a quilted look and emphasise the design, you can sew lines of stitching through the layers. Use a sewing machine or needle and thread to sew straight lines, zig-zags, or other patterns.
Step 9: Enjoy Your Coasters

Your quilted coasters are now ready to use! These make great gifts and can be personalized with different fabrics and patterns.
Estimated Cost: 10 GBP
Supply:
- 2 fabric squares (30cm x 35cm or larger)
- Thin quilting wadding
- Quilting tape (optional)
Tools:
- Sewing machine or needle and thread
- Scissors or rotary cutter
- Ruler or tape measure
You can watch the complete process here!

Wrap scrap squares
Unhemmed squares of wrap cloth measuring at least 30cm square.
