Design, production & geekery
Weaving Terminology: What is a Warp?
All the technical terminology surrounding cloth and wrapping can sound confusing at first, but it is definitely worth learning about.
Firstly, it is all pretty fascinating stuff in its own right; a technology with ancient roots that shaped the path of human development- both a science and an art form!
Secondly, by understanding how cloth is made and how it functions, you can learn to work alongside your wrap better, to get comfier carries, to maintain and mend it without worries etc. Lots of our anxieties around woven wraps are actually based on common misconceptions, so knowledge is power!
What is a Warp?
- Warp threads run the length of your wrap from taper to taper, weft threads weave across the warp threads, from top to bottom rail.

- There are around 3000 individual warp threads in one wrap. They are much stronger than the weft threads, but each one is still pretty weak on its own. The weave structure gives them a combined strength that far exceeds the load a single thread can bear.
- Our warp threads are made from combed cotton. Each thread comprises of two thinner threads twisted (plied) together for extra strength.
- Planning new cloth always starts with the warp. Putting a coloured warp on the loom is costly and time consuming, so each one needs to be hundreds of metres long. Several different wrap designs will be woven on one shared warp. This means that new releases in our shop will often have different wefts and designs, but share the same warp colour. You can read about how our naming system identifies warp and weft here.
- One design will be woven, then cut off the loom and put on a roll. The next design will then be woven. The warp colour will appear to change slightly, depending on what colour weft thread is woven across it.

- We start by choosing the colour/s of the warp and planning any stripes or colour changes. We can use different coloured warp threads to create different effects. We can make stripes and gradient colour changes in the warp. We then mock this up digitally and use small swatches of each yarn to check that the colours work well together. Once we’ve committed to the warp then we can’t change our minds!
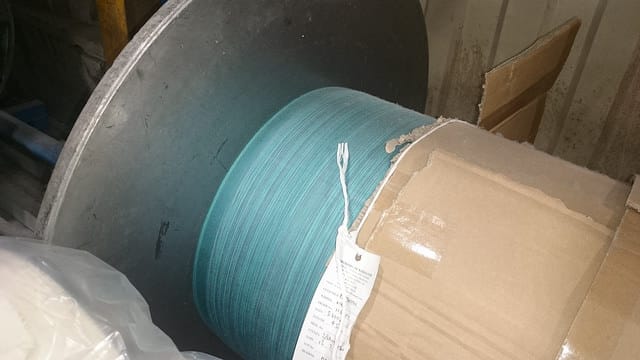
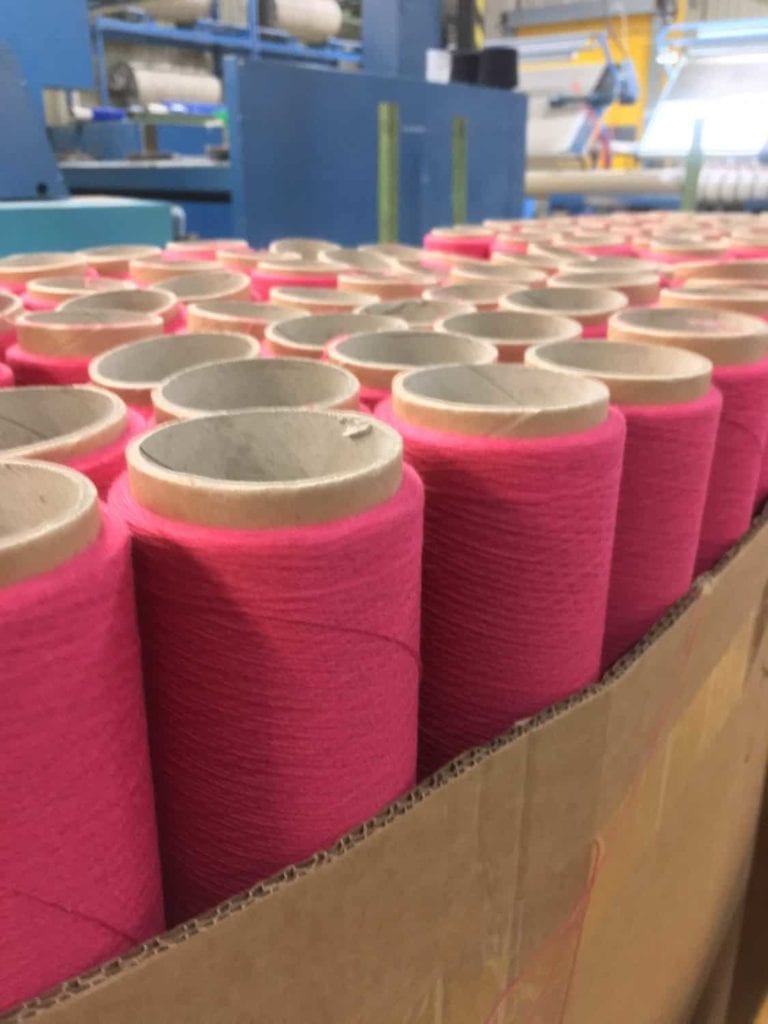
- The warp threads are measured out and then wound onto a large spool called a beam. As each thread needs to be very long, new yarn will often be knotted in when one cone runs out. You can sometimes spot these weaver’s knots in the cloth.


- The beam is then attached to the loom and the warp is fastened into a harness full of little hooks that can lift each warp thread individually.

- The warp has to remain stretched tight during weaving. If one thread snaps during weaving, it will be knotted back together to maintain tension. This is the only time that warp threads need to be knotted. Once the cloth has been taken off the loom, the warp threads no longer need that tension, so if one snags or breaks when you’re using your wrap, there is never any need to knot it! The friction of the cloth will hold the threads in place perfectly. You can read more here about easily snipping and mending a pulled warp thread
- The warp is fastened into the loom and stretched tight. The weft is then passed back and forth across them to create the cloth.
- Individual warp threads can be lifted or lowered everytime the weft is passed across them. This changes which thread you see on the surface of the cloth and slowly builds up the pattern.

- The loom weaves cloth that is double the width of a wrap, so we split each roll down the middle and create two identical wraps from each length of cloth. Both sides of the cloth will have the same design and weft woven across them, but we can create a warp that is half one colour and half another. This is incredibly complicated for the mill to do! Once the cloth is split it will create two wraps that have the same design and weft, but different warp colours.

Wrap cloth is woven double width, then split down the middle to create two wraps

- The warp can be visibly part of the cloth design (Alchemy and Elements weave) or hidden inside the cloth (Synergy weave). You can read more about our different weave structures here
